How to Fax From iPhone – iPhones don’t have built-in faxing capabilities, but you can send faxes using third-party apps. These fax apps typically allow you to upload the document you want to fax, enter the recipient’s fax number, and send it electronically. The app handles the conversion of your document and transmits it via the internet to the recipient’s fax machine. There are both free and paid fax apps available, so you can choose one that suits your needs.
Related Post –
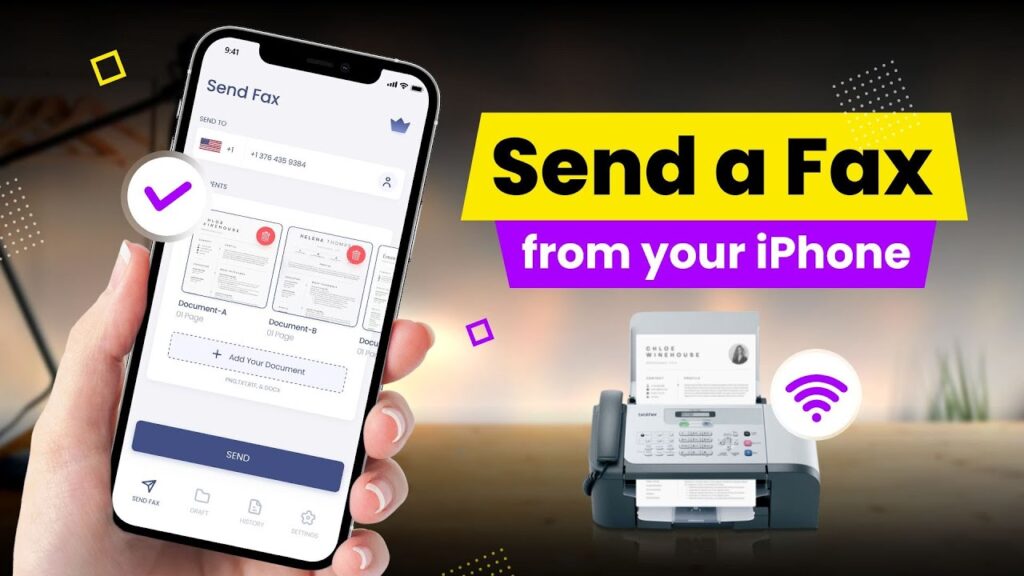
How to Fax From iPhone
Faxing from an iPhone can be done using various methods, including dedicated fax apps or built-in features provided by online fax services. Here’s a step-by-step process using a typical fax app:
- Download a Fax App: Visit the App Store on your iPhone and download a fax app of your choice. Popular options include Fax from Phone – Easy Fax, iFax – Send Fax & Receive Faxes, or other similar apps.
- Sign Up or Log In: Open the fax app and sign up for an account if you’re a new user. If you already have an account, log in using your credentials.
- Select “Send Fax” or Similar Option: Once you’re logged in, navigate to the option to send a fax. This might be labeled as “Send Fax,” “Send Document,” or something similar, depending on the app you’re using.
- Attach Document: Choose the document you want to fax from your iPhone. Most fax apps allow you to attach documents from your device’s storage, including PDFs, images, and other compatible file types.
- Enter Recipient’s Fax Number: Input the recipient’s fax number into the designated field. Make sure to include any necessary country or area codes.
- Optional: Add Cover Page or Message: Some fax apps allow you to include a cover page or message with your fax. If desired, you can add a cover page or type a message into the provided text box.
- Review and Send: Double-check all the information, including the recipient’s fax number and attached document. Once everything looks correct, tap the “Send” or “Fax” button to initiate the transmission.
- Check for Confirmation: After sending the fax, you may receive a confirmation message or email from the fax app indicating that the transmission was successful. Some apps also provide delivery confirmation reports.
- Review Sent Faxes (Optional): Many fax apps allow you to view a history of your sent faxes within the app. You can typically access this feature to check the status of your fax transmissions.
By following these steps, you can easily fax documents from your iPhone using a dedicated fax app. Make sure to explore the features and settings of your chosen app for the best experience.
Q: Can I Send a Fax From my iPhone
A: Yes
Q: How to send Fax from iphone Free
A: There are free fax apps available for iPhone, but they often have limitations like sending a few faxes for free or having ads. You can search for “fax app” on the App Store to find options. However, keep in mind these free faxes might have lower quality or limitations on the number of pages.